Get started with Drive One device and app
Download and install the Drive One app
You can get it here
Setup Drive One in the Drive One app
Start the Drive One app and follow the instructions on the screen.If you want to read about how to setup Drive One before you do it, please continue here.
The setup process
Follow these steps to setup the Drive One device.
Collapsible content
Enter your email address
An email is then sent to your entered email account.
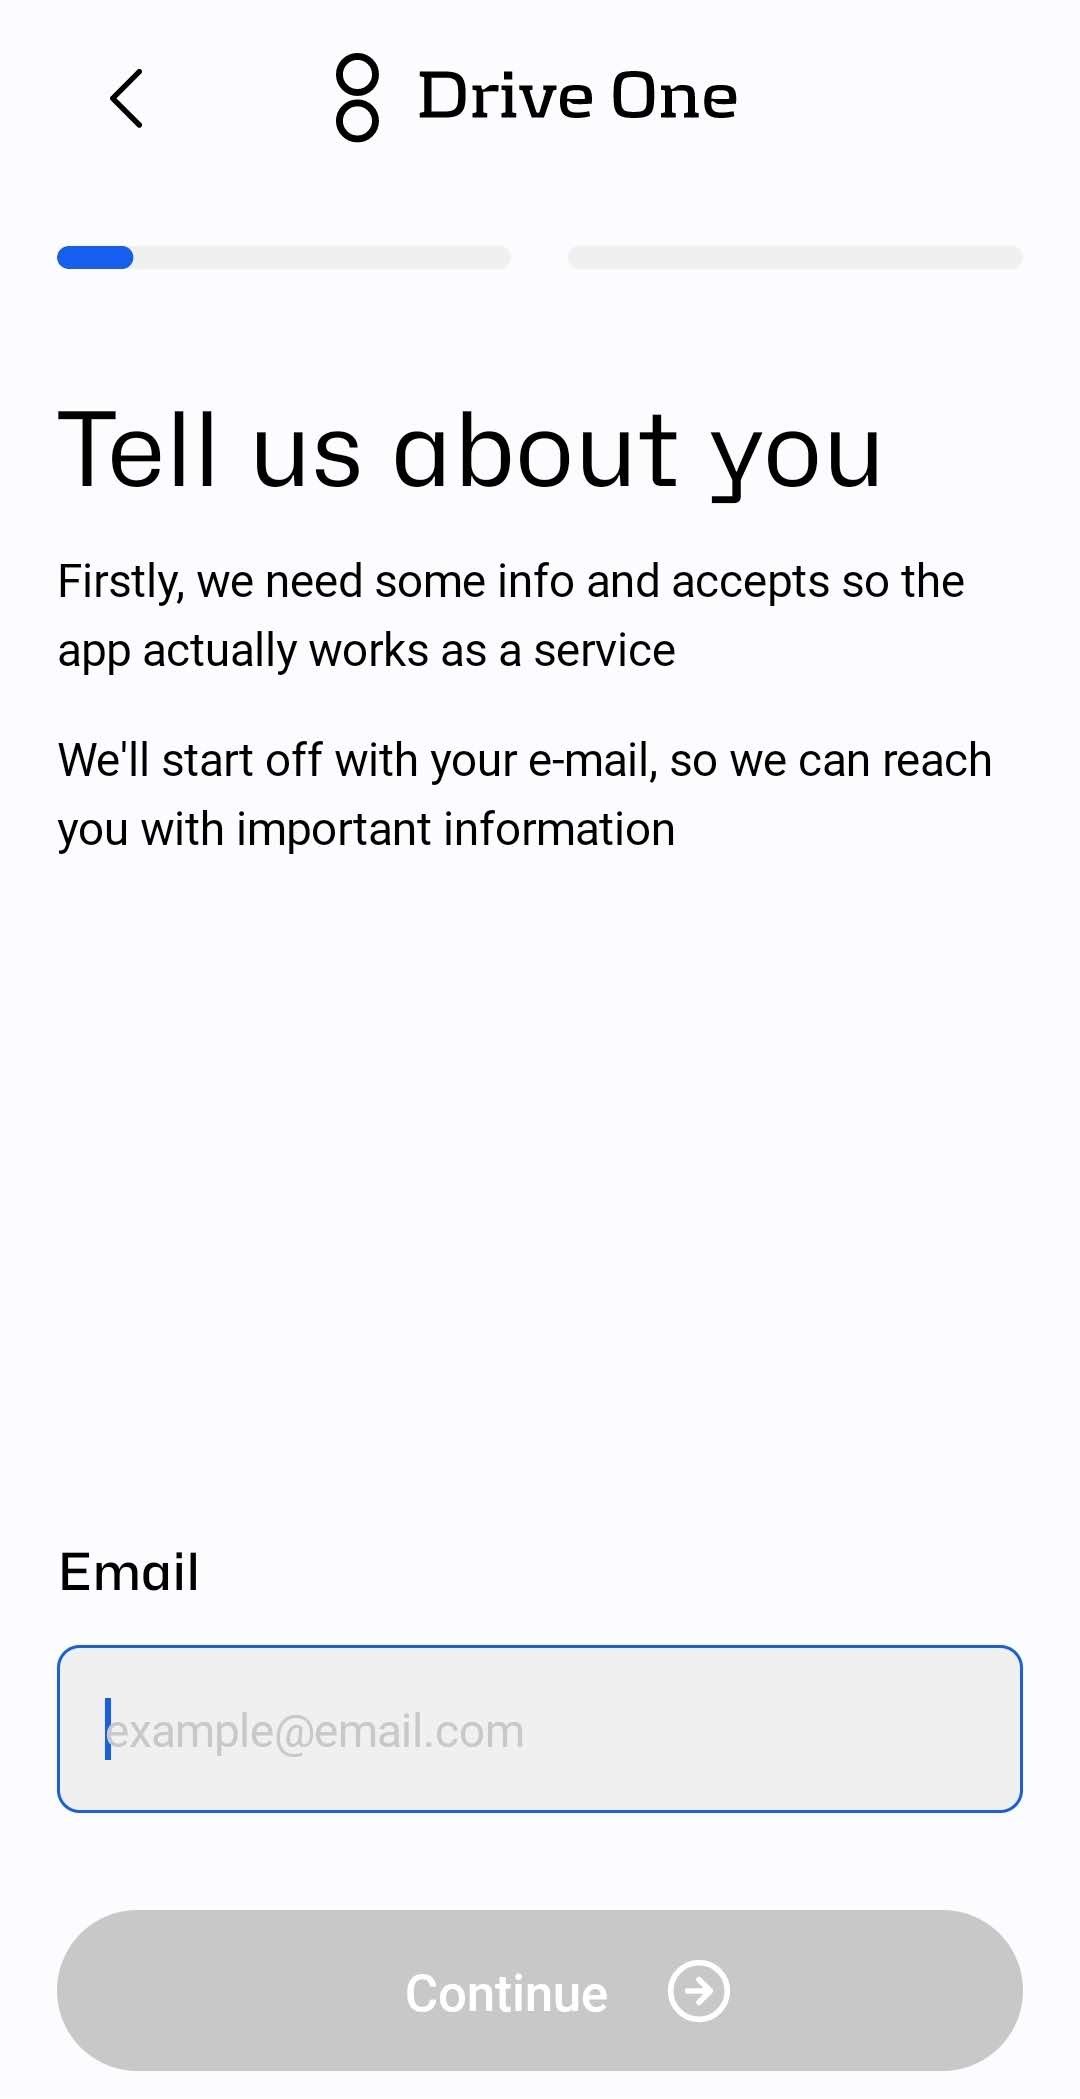
Confirm your email address
The email contains a number which you need to enter on this screen to confirm that your email is valid. When you proceed, you can accept or refuse emails with news, tips and tricks from us.
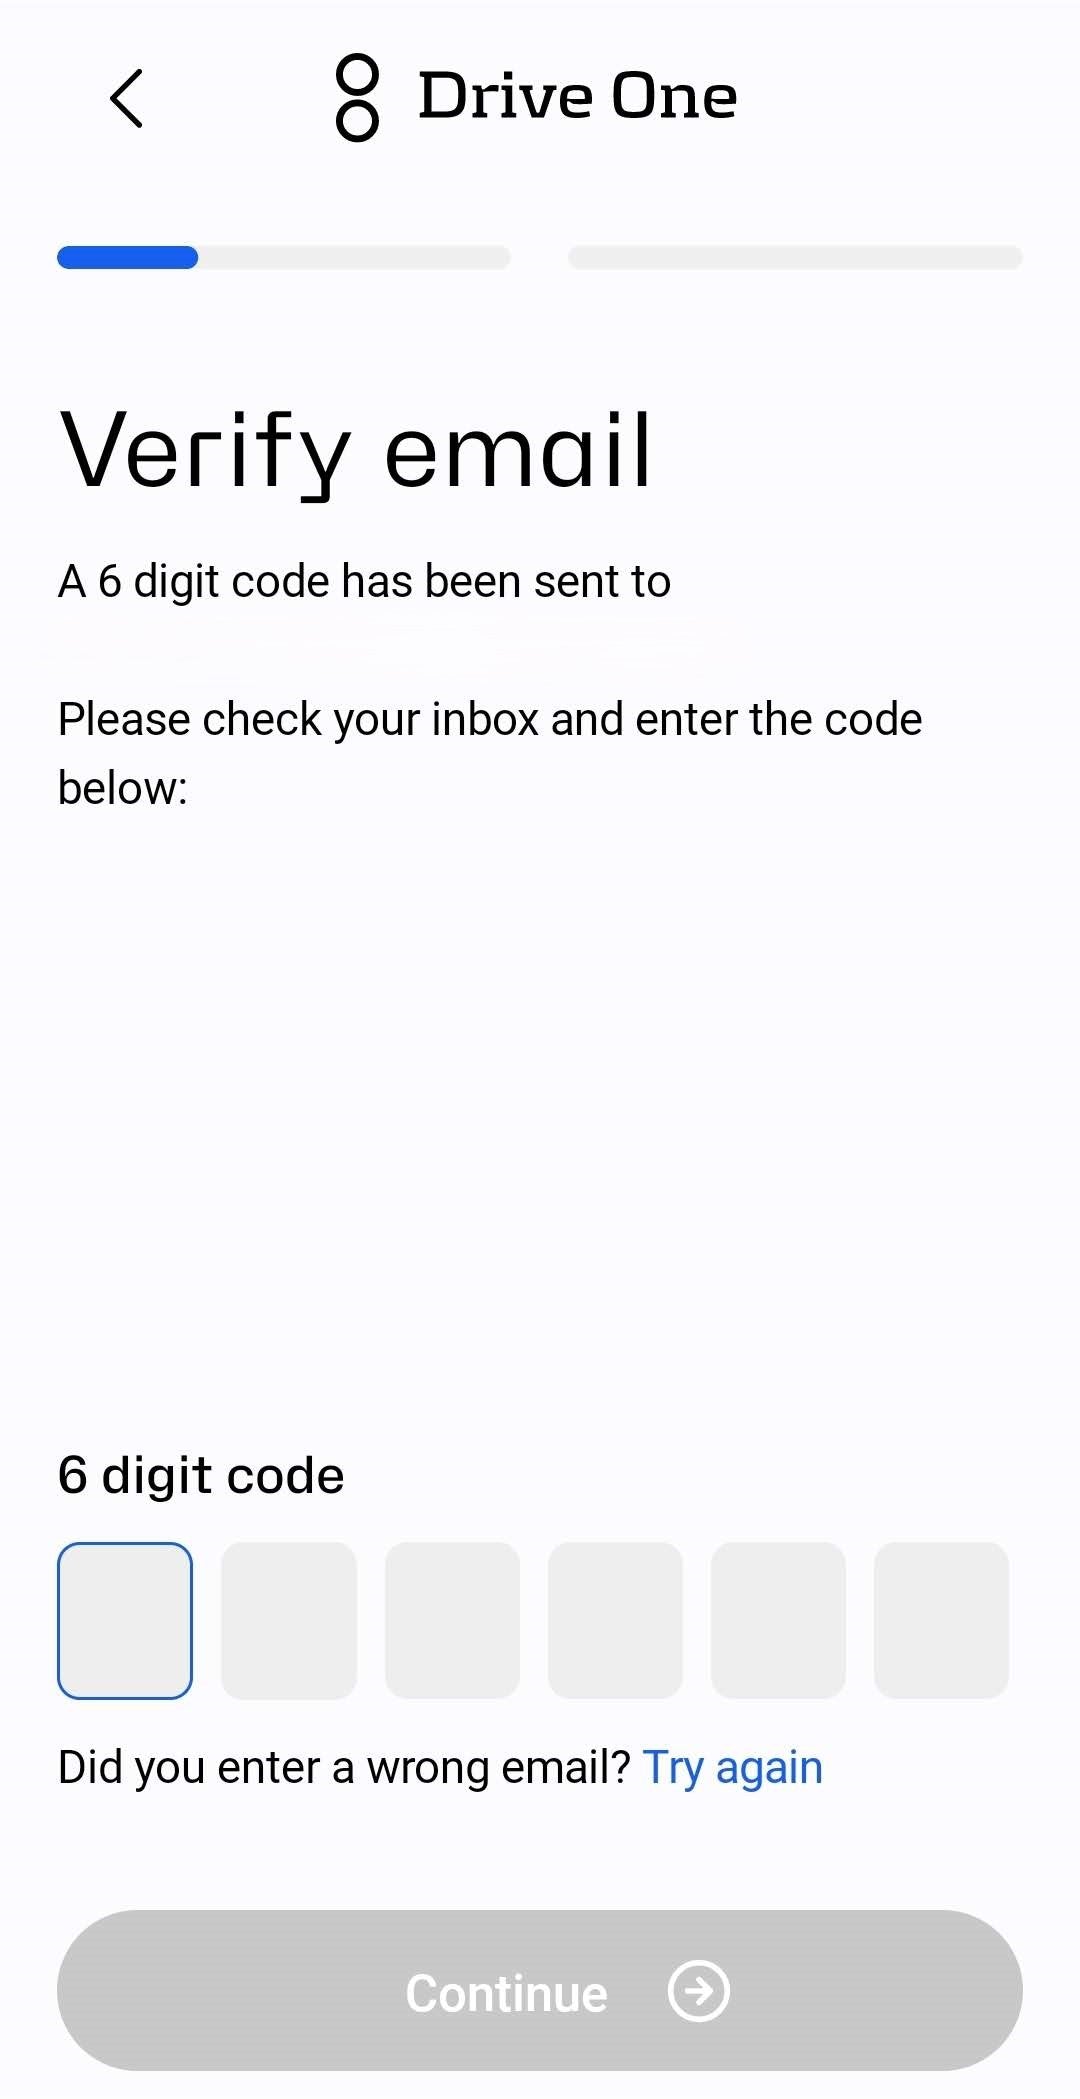
Accept terms and conditions
You need to accept the terms and conditions to use the Drive One app and to proceed.
If you don’t accept them, then you will not be able to use the app.
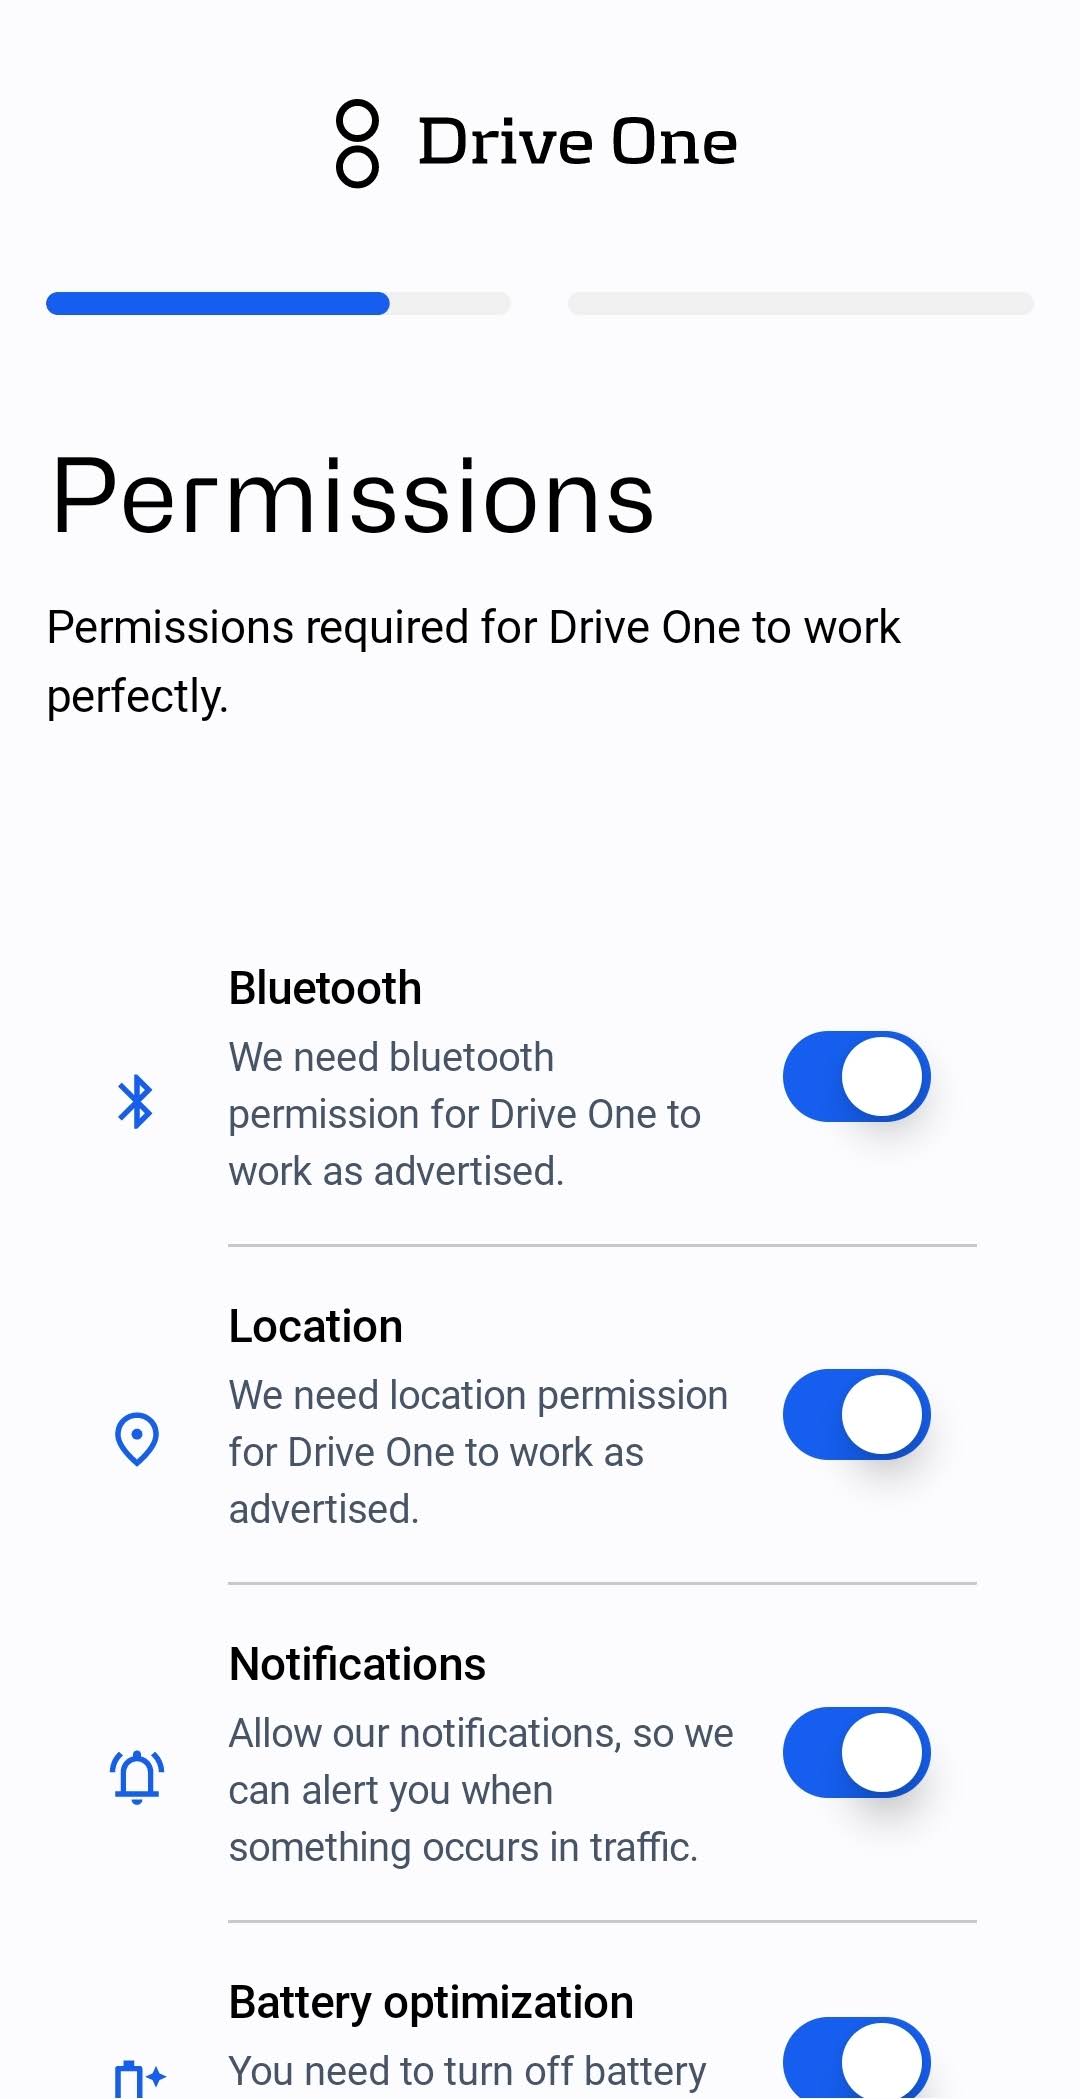
Grant permissions
On this page, you will be prompted to allow the Drive One app to see your location, provide notifications, enable Bluetooth and disable battery optimization (Android)
You need to set these permissions in order for Drive One to work as expected.
Ready for connection
You are now ready to connect your Drive One unit to the Drive One app. Remove the plastic slip to proceed.
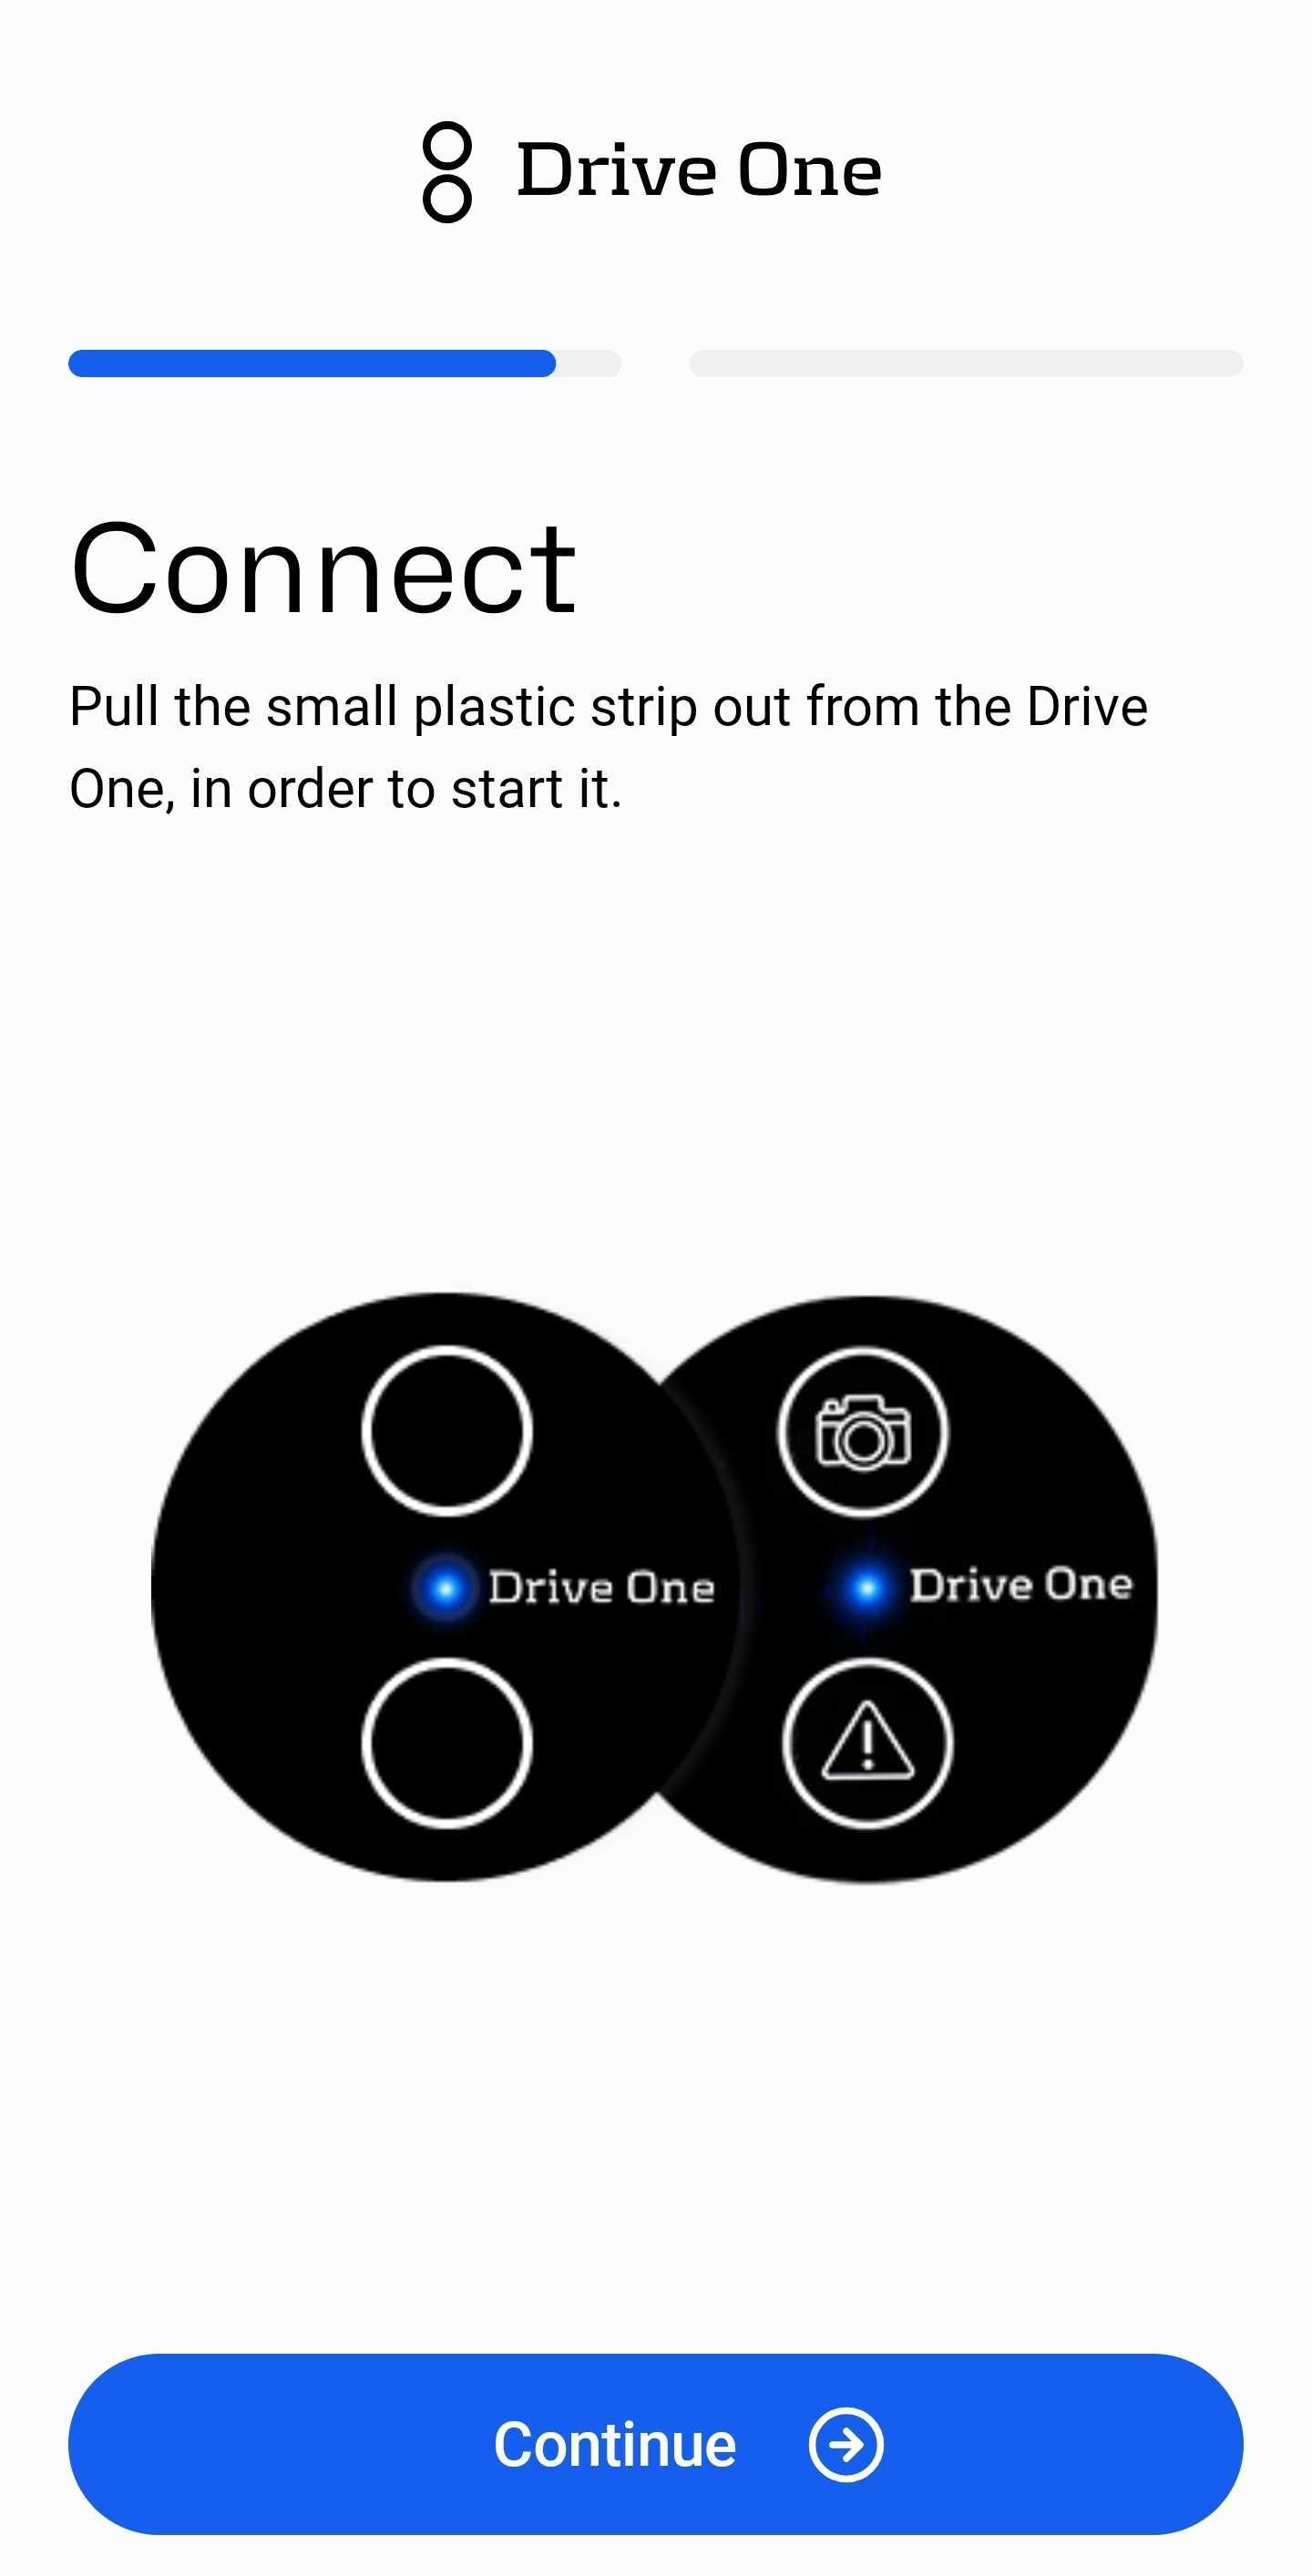
Connected
Your Drive One device is now connected to the Drive One app.

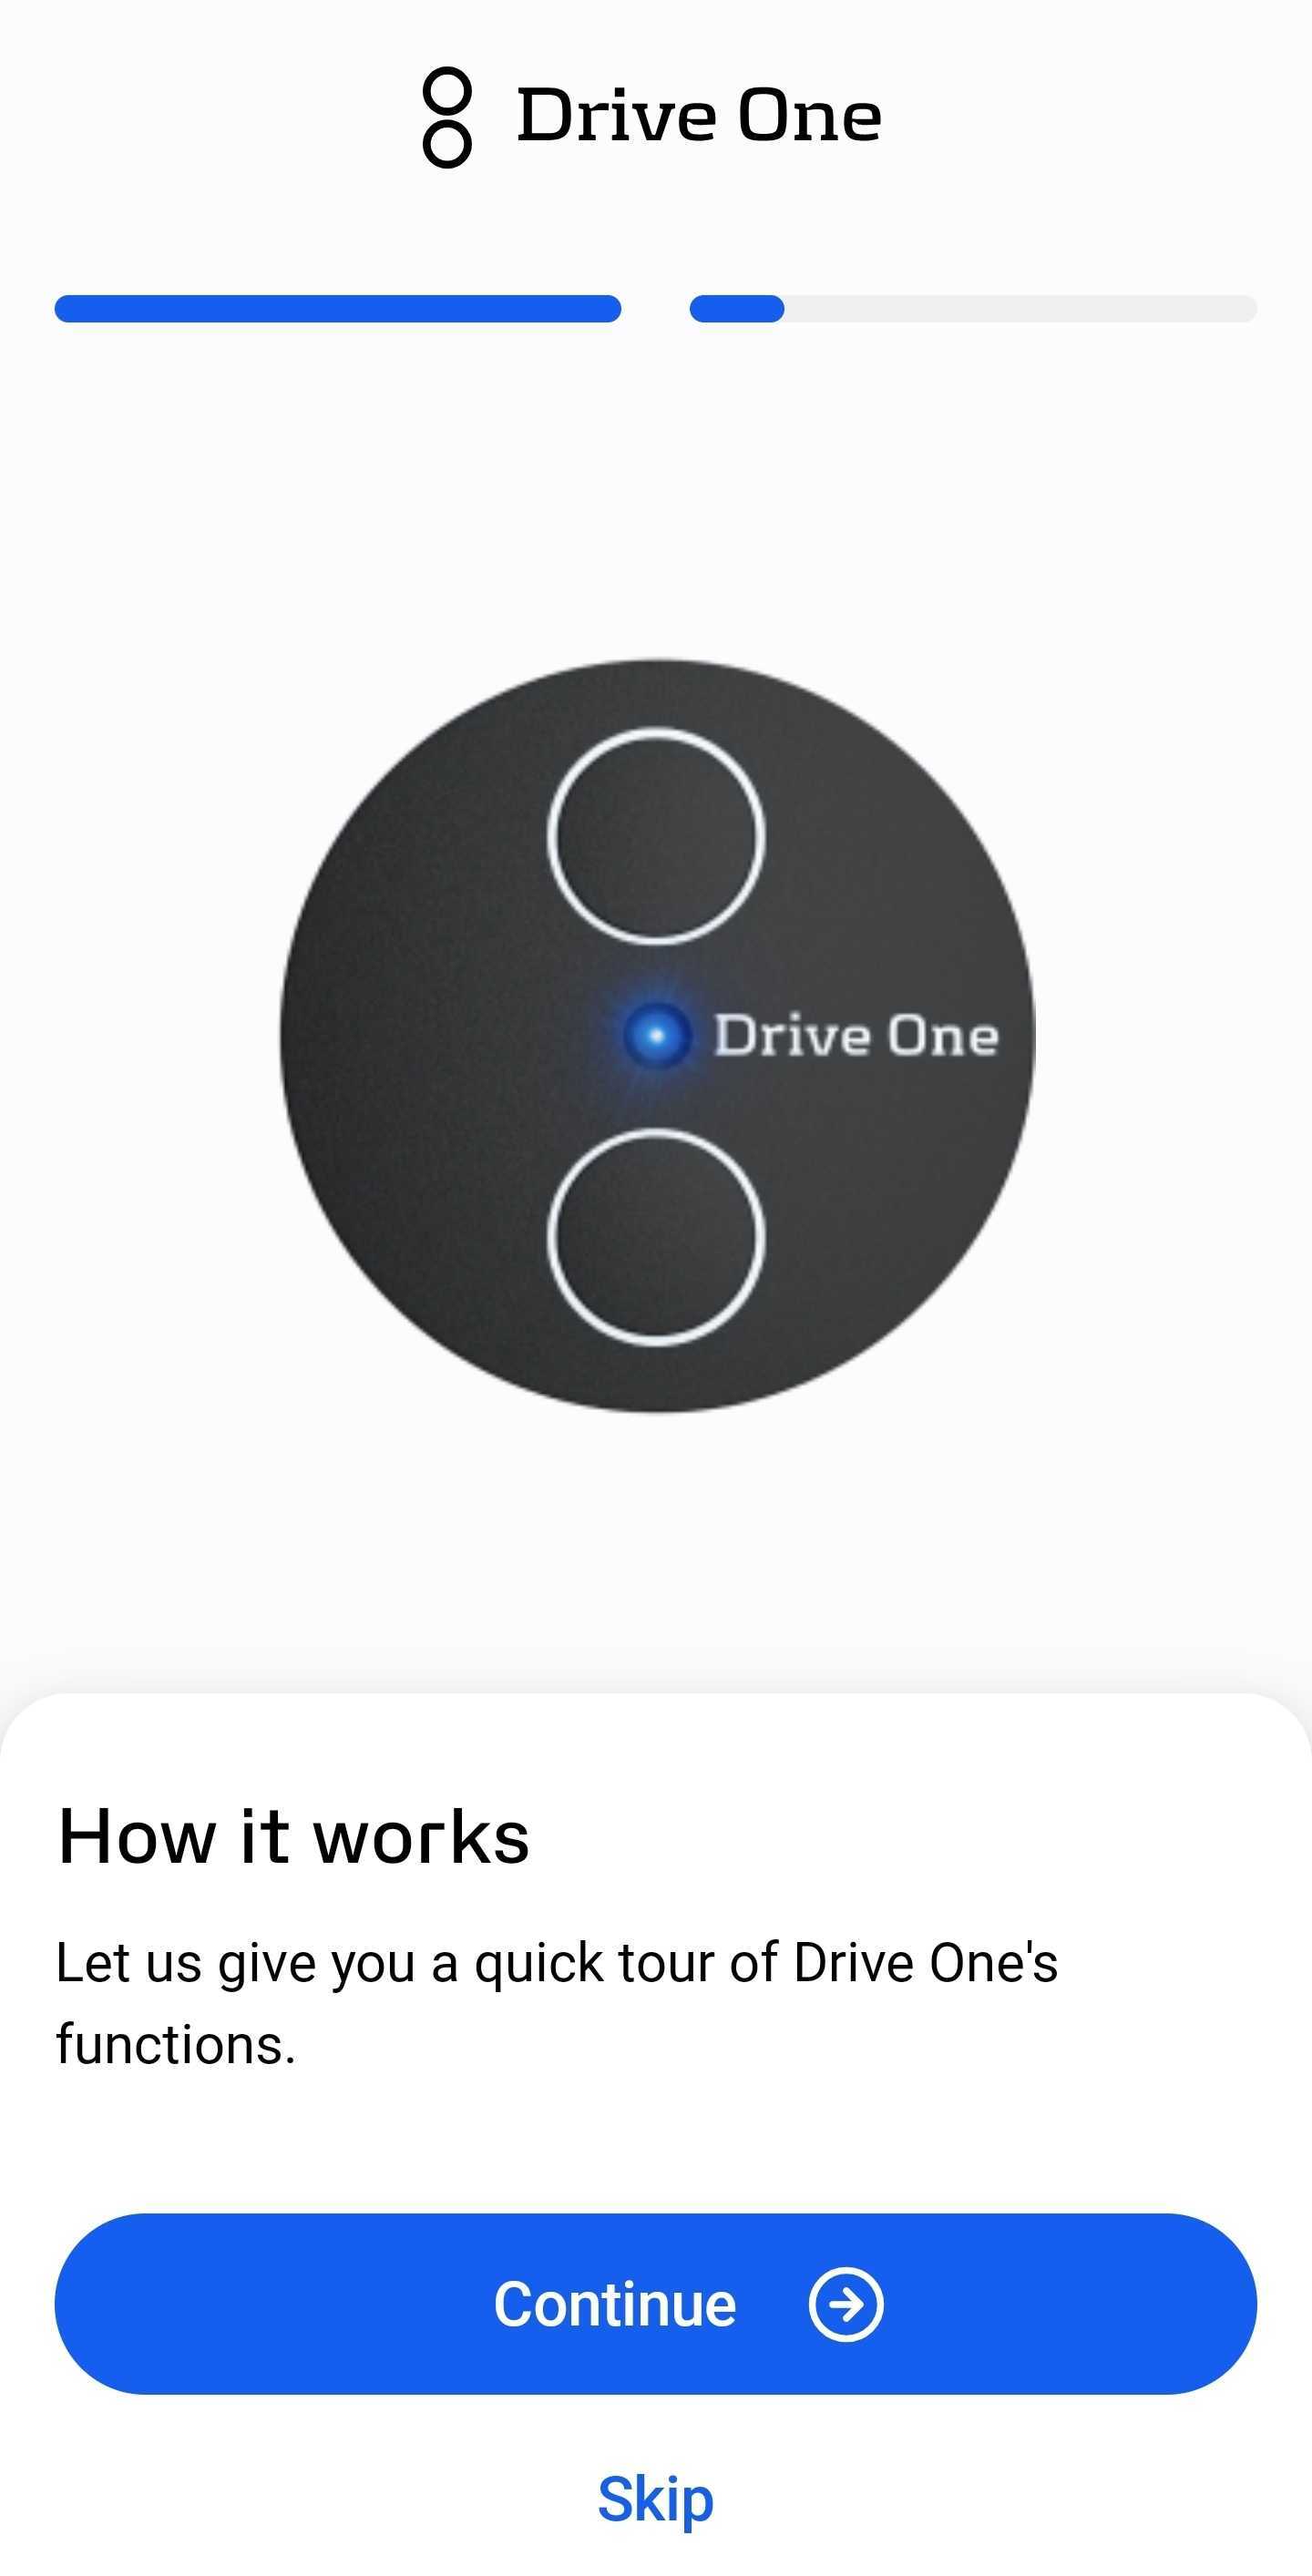
Quick app tour
Now the app will take you for a quick tour of how Drive One works.
Top report button
The top button is used for when you see and want to report a speed camera.
When you press the top button, a warning is created at your location, for other Drive One users.

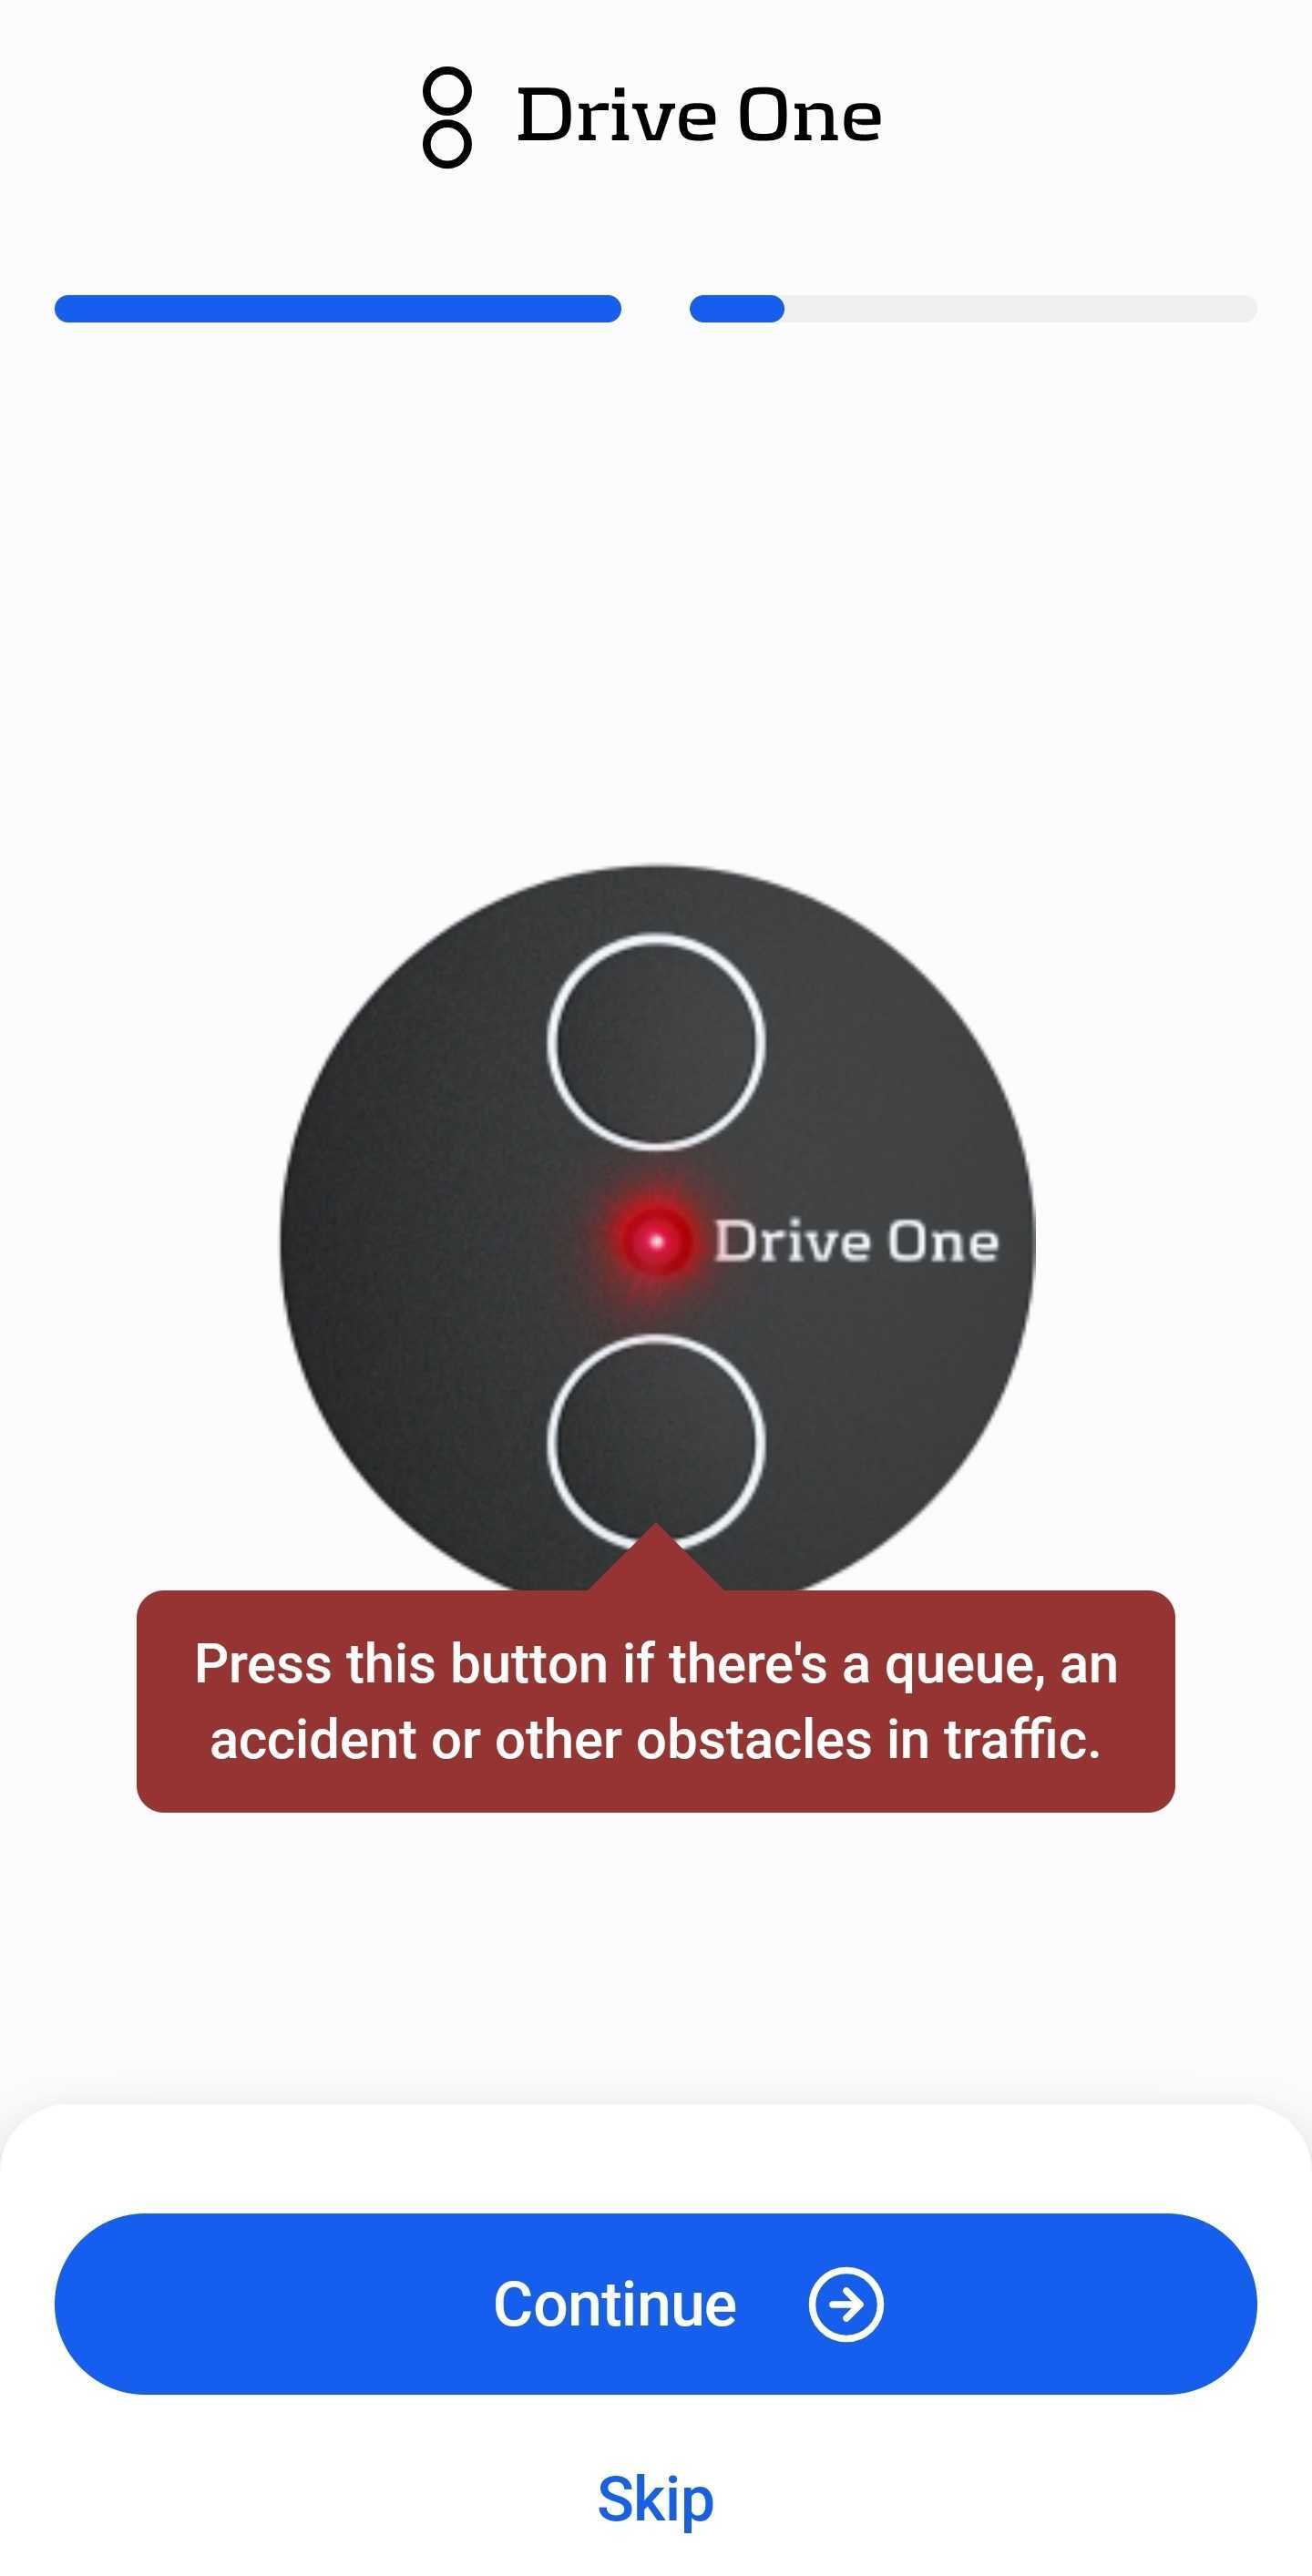
Bottom report button
The lower button is used for when you see and want to report something that could cause danger to other drivers.
When you press the lower button, a report is made to warn other Drive One users about dangers in traffic nearby.
Test reports
On this page, you can test how to report using the Drive One device.
You can press both buttons to make a test report. None of these reports will be sent as they are just test, and so you can press the buttons as many times as you like.
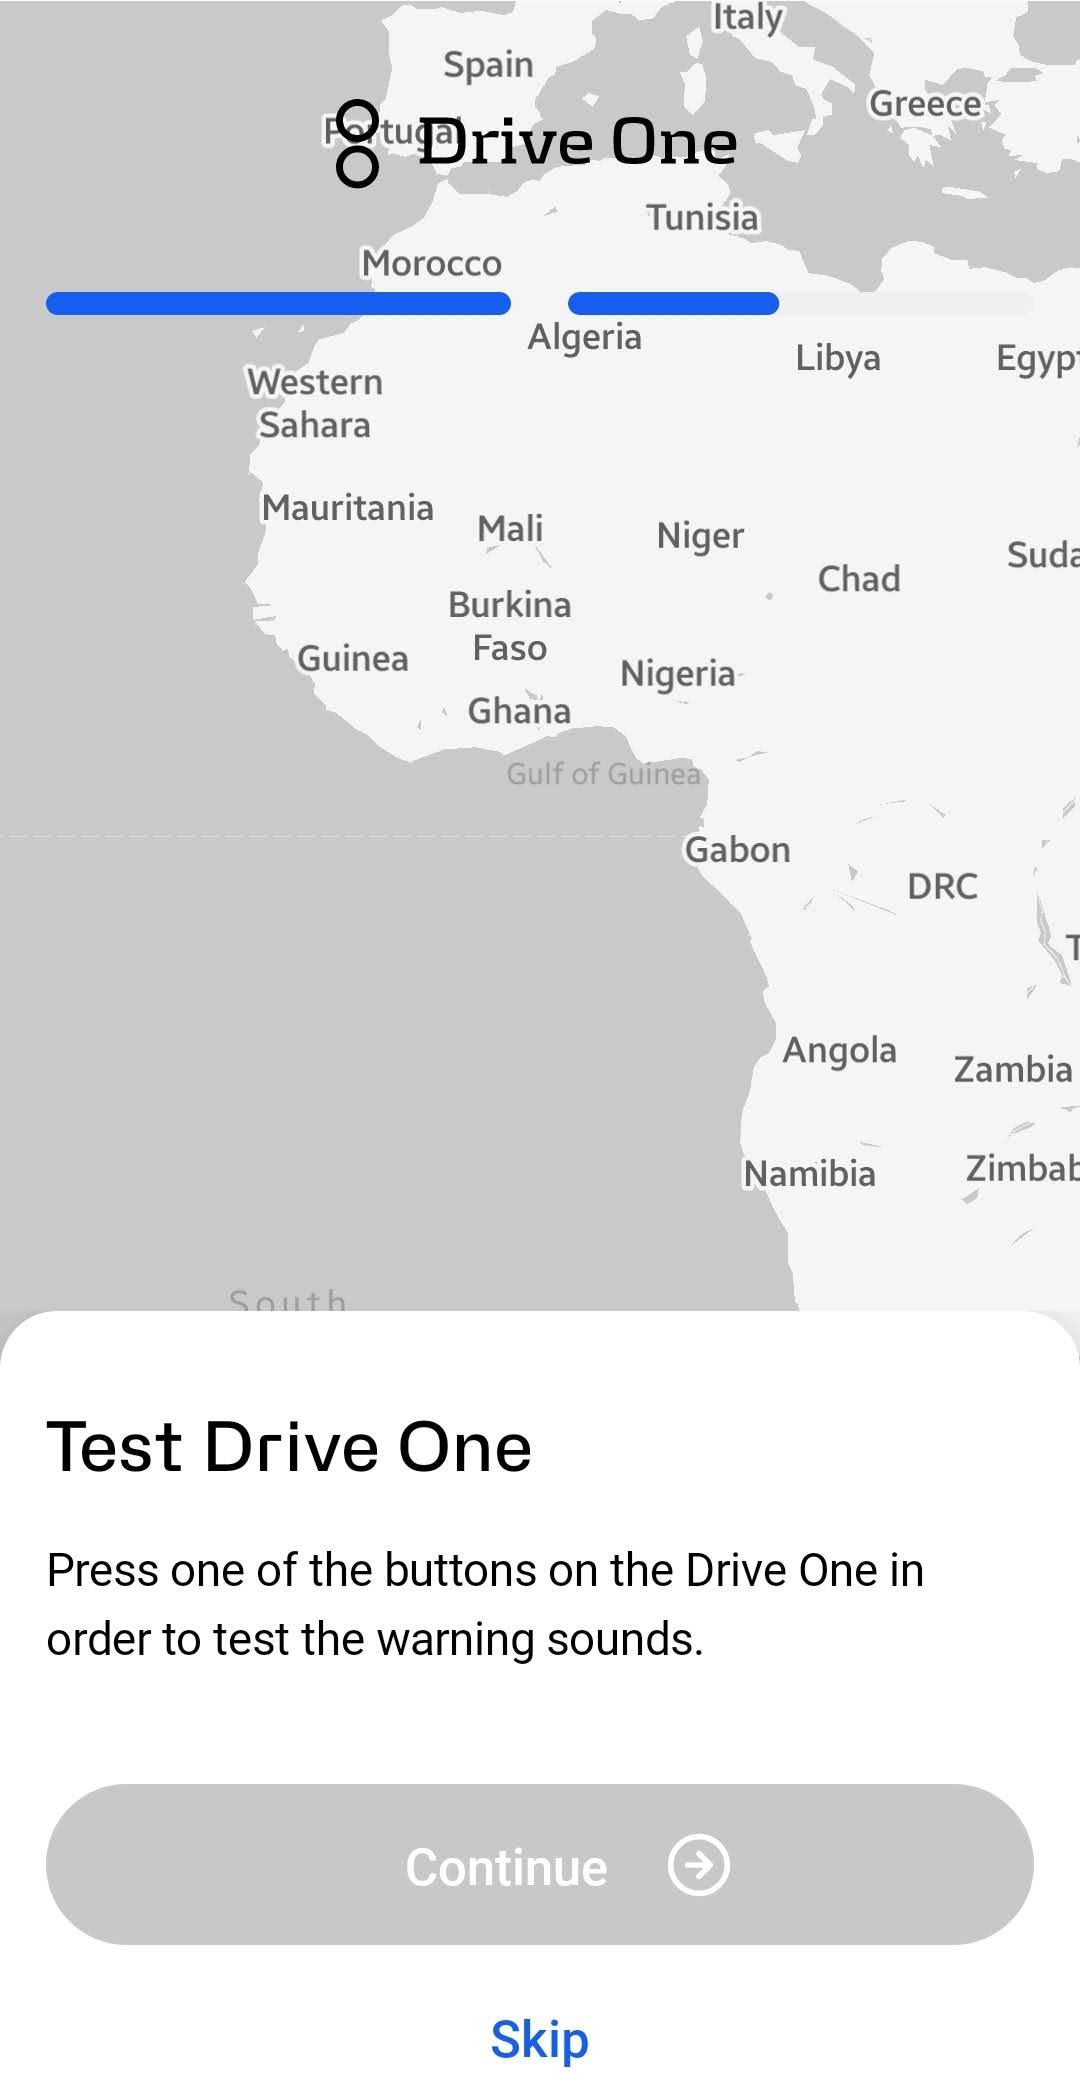
Test warning sounds
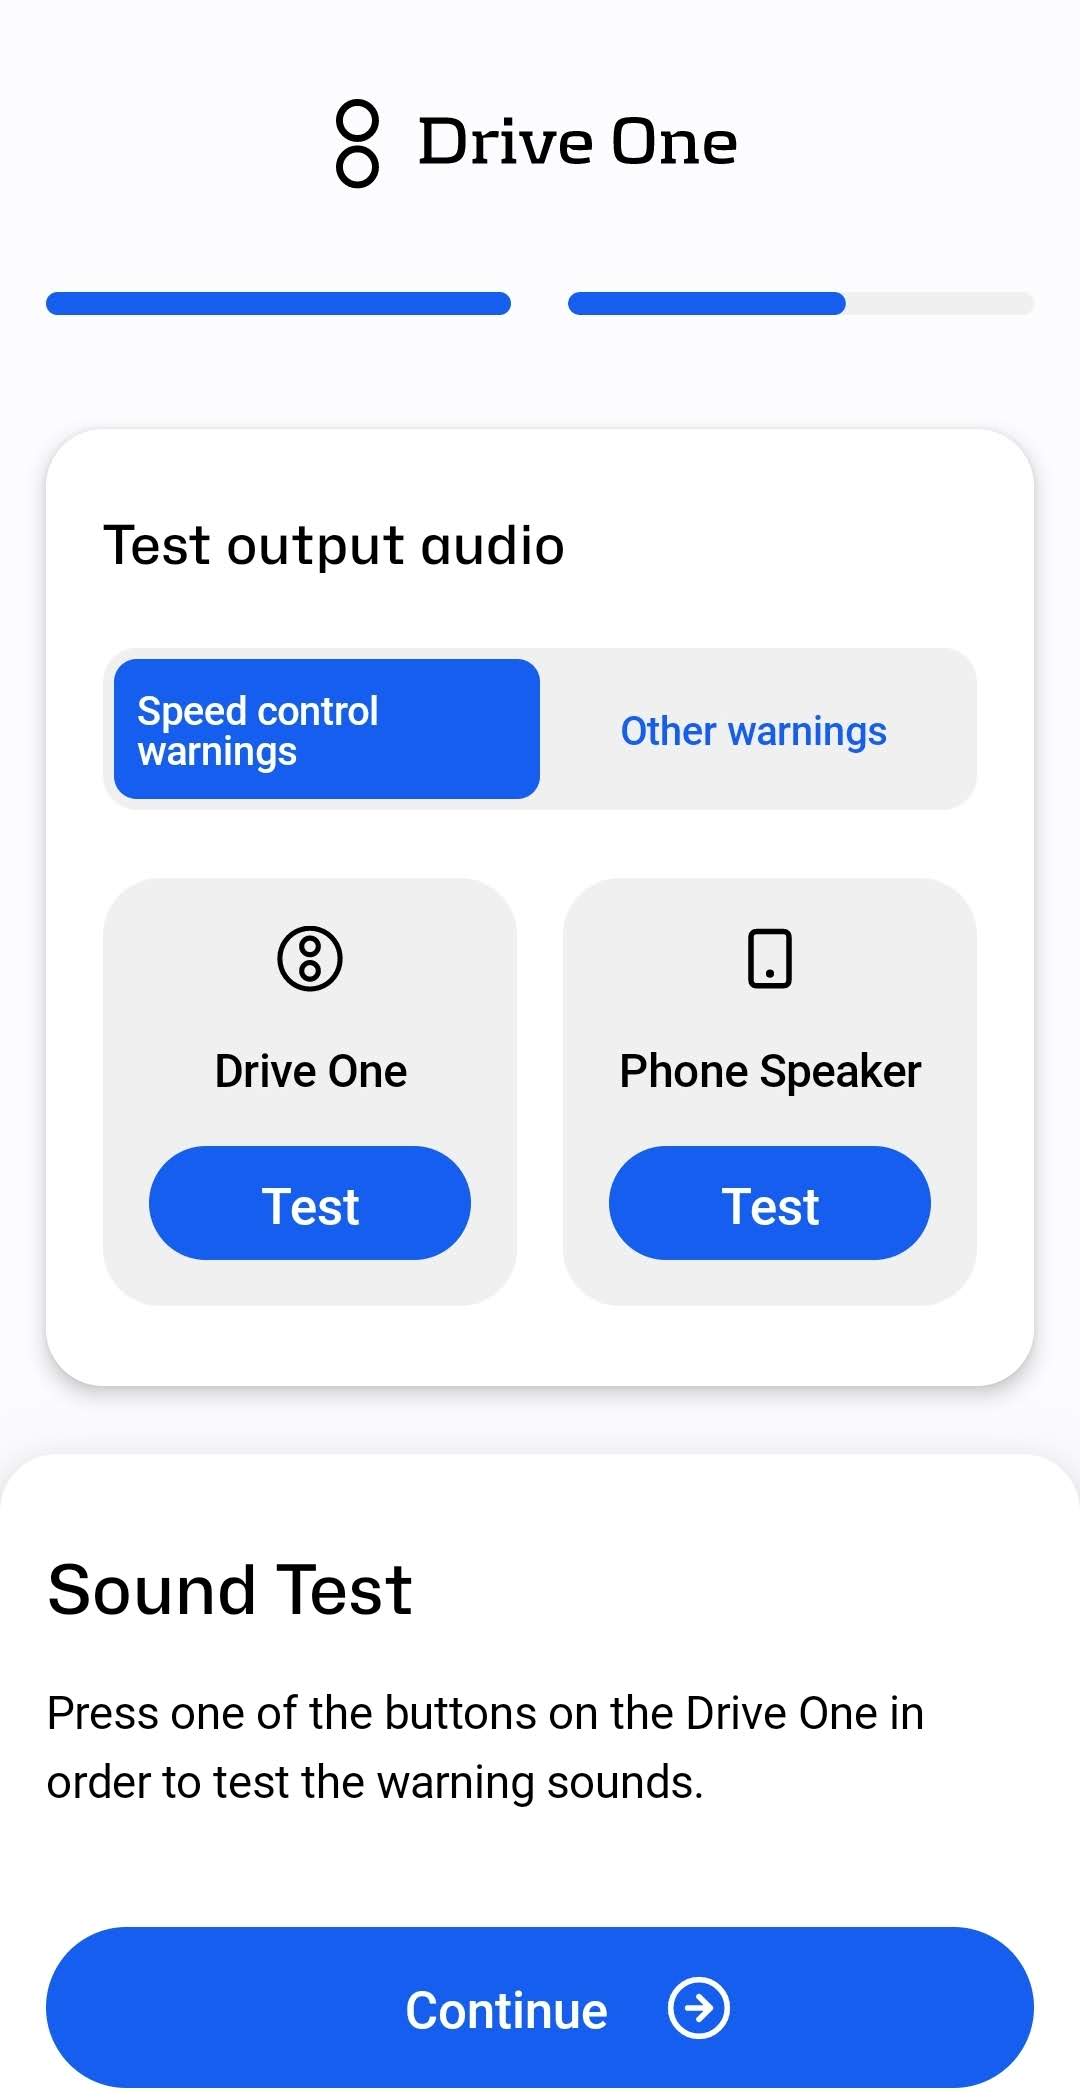
You can test how warnings sound on your Drive One device and on your phone.
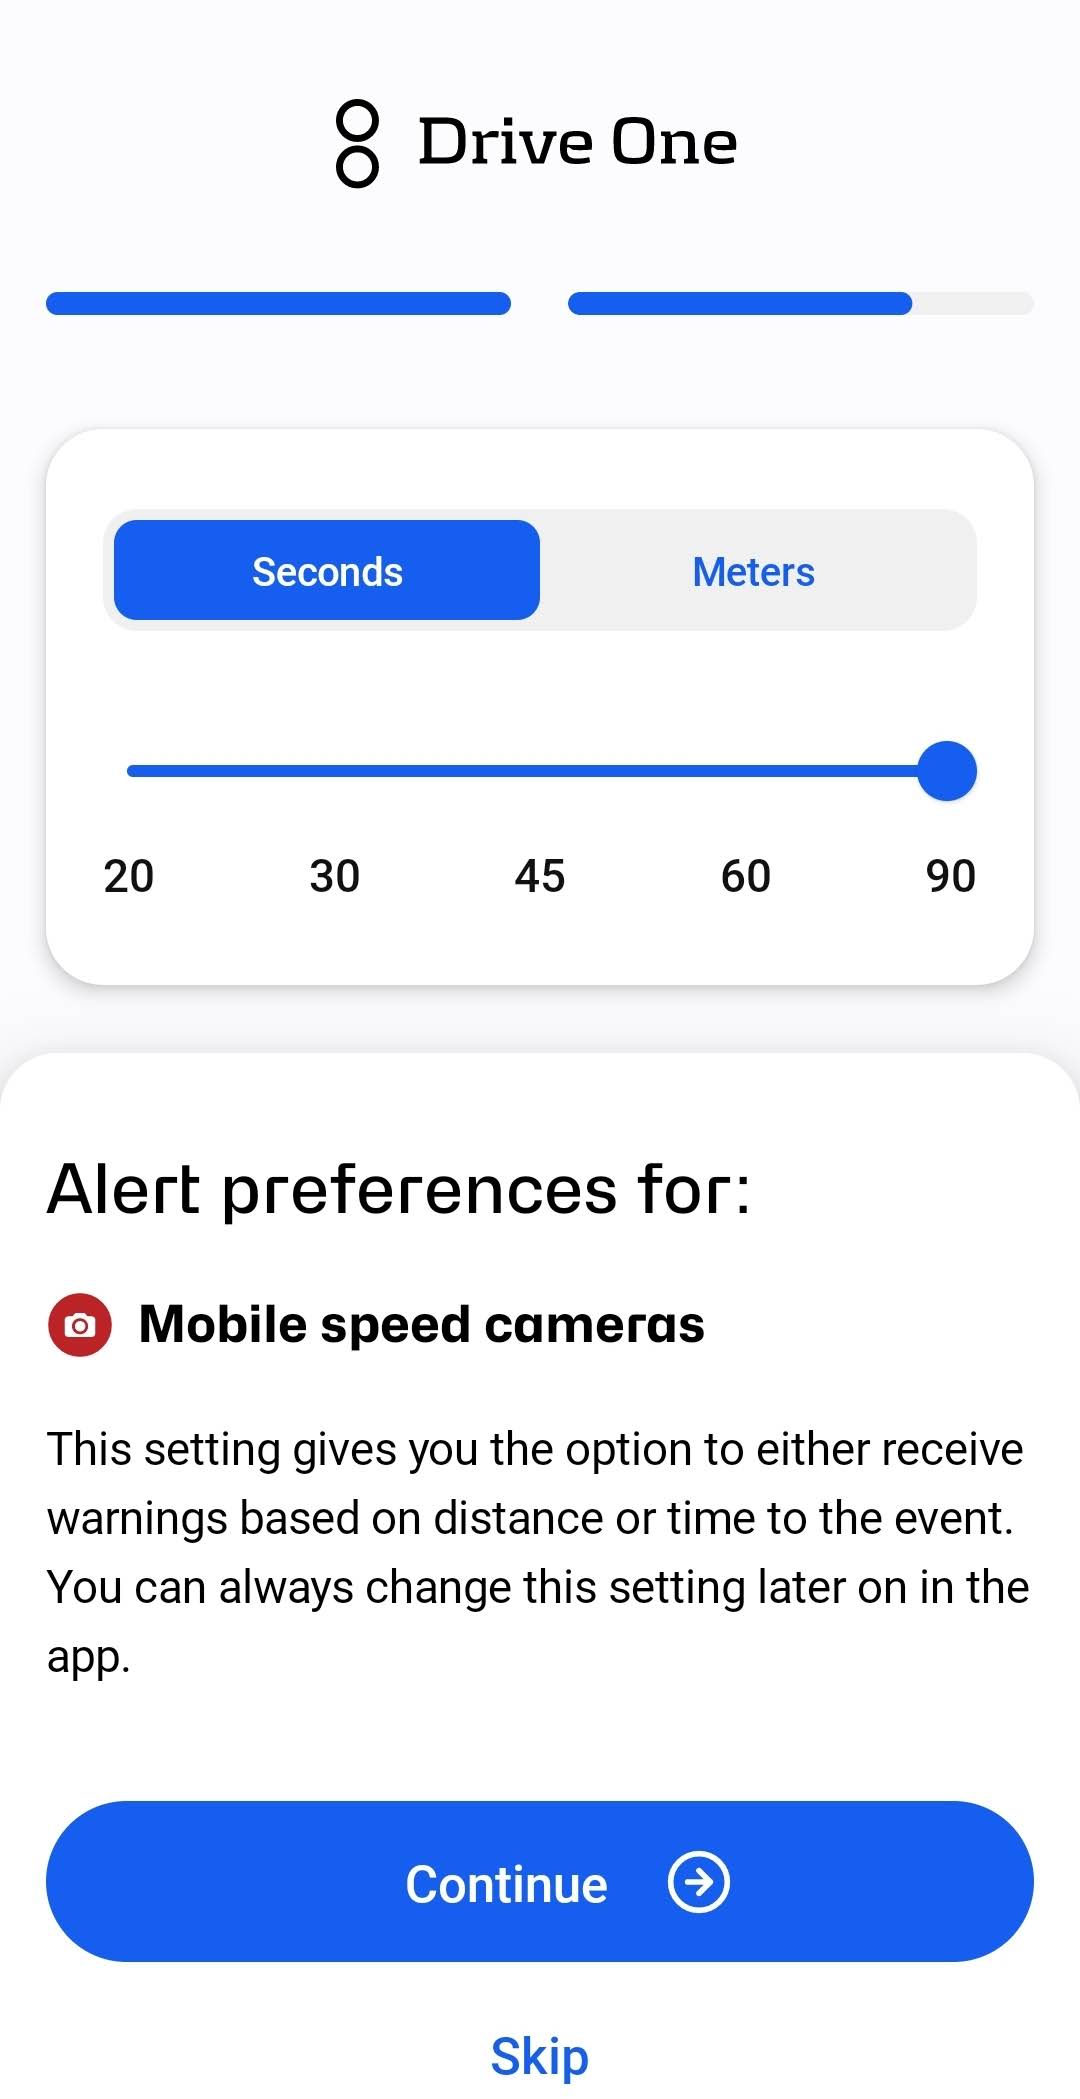
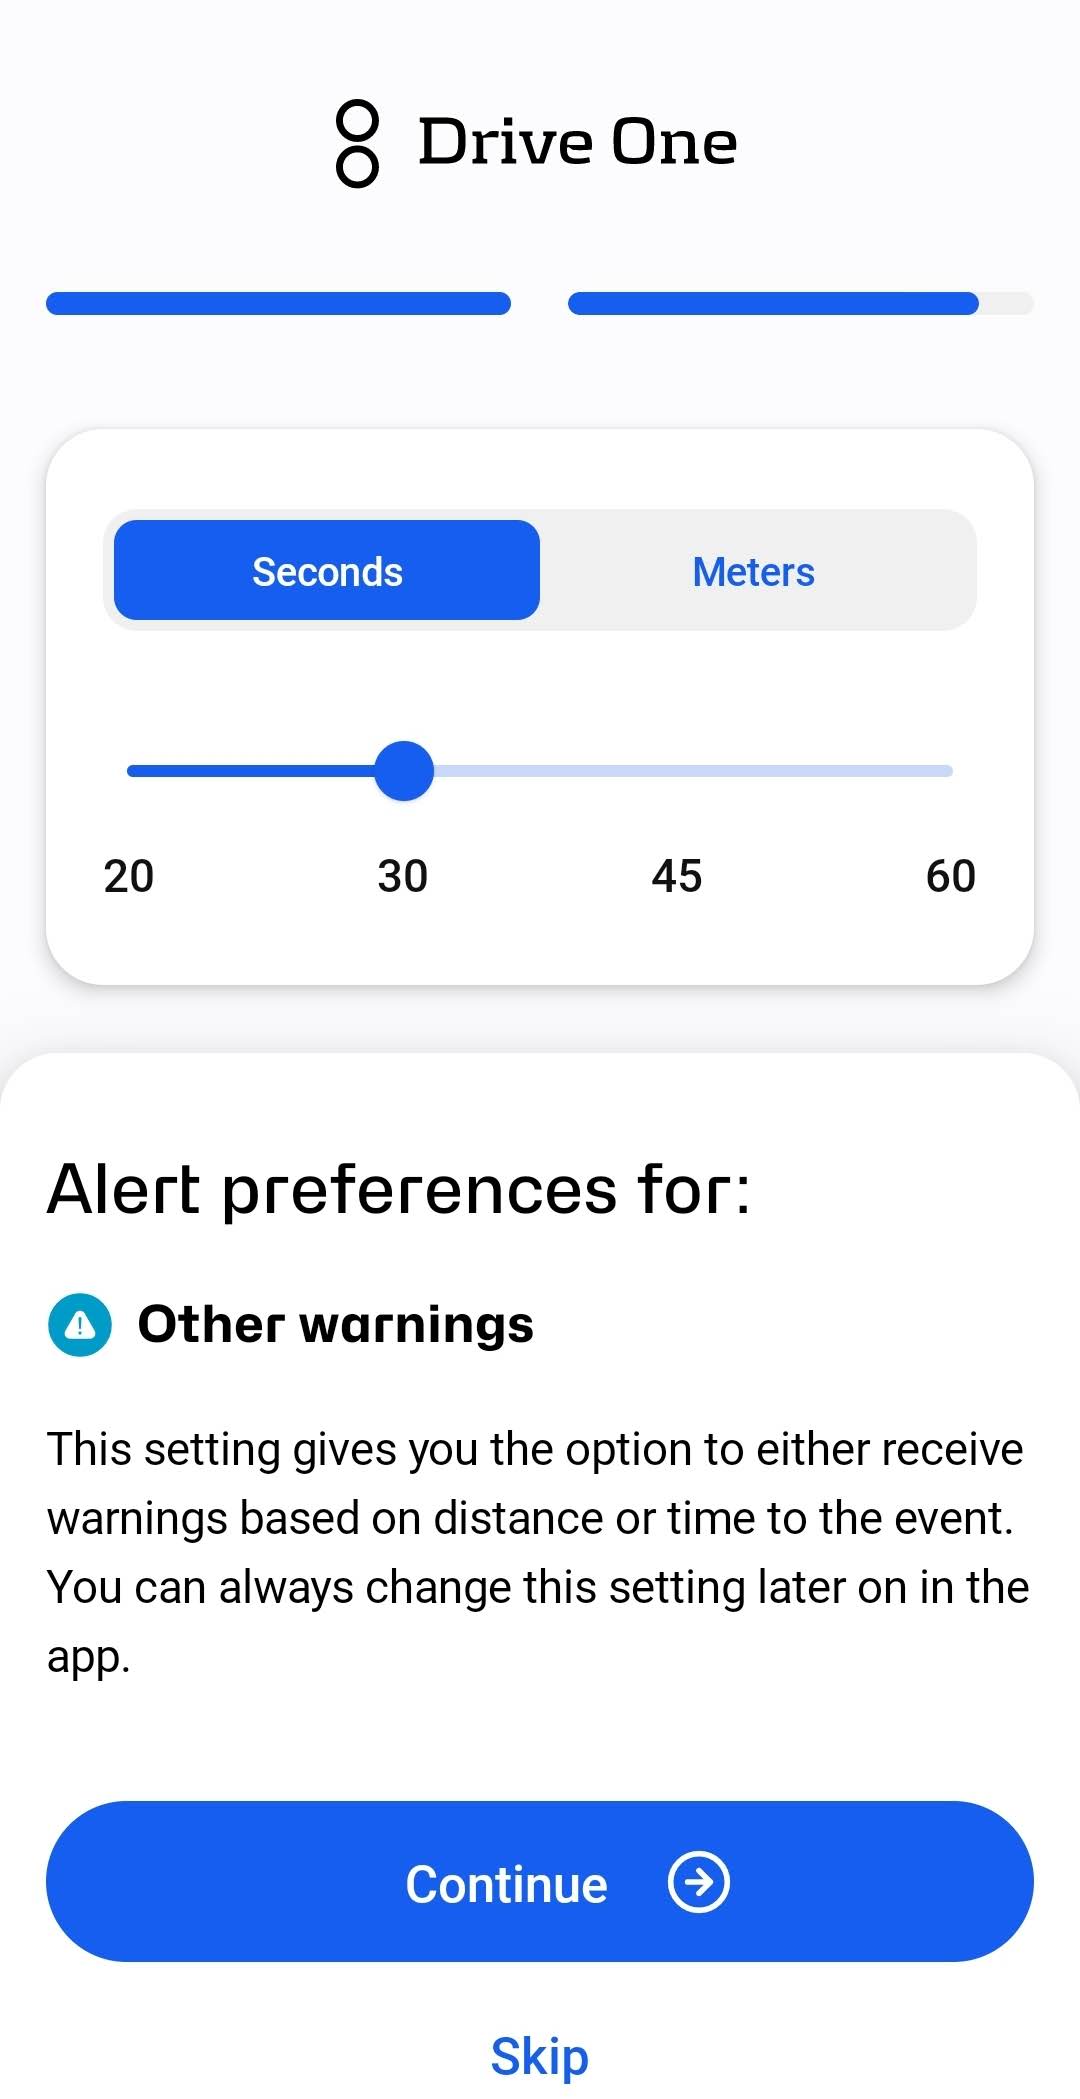
Warnings customization
On this page, you set the time or distance by which you will receive warnings. First, you will decide when you will be warned about mobile speed cameras. Next, you will set the time/length for other warnings (fixed speed cameras, road work and more).
Seconds: Use this if you want to be warned between 20 to 90 seconds before you reach a mobile speed camera (20-60 seconds for other warnings).
Meters: Use this if you want to be warned between 300-1500 meters before you reach a mobile speed camera (300-1000 for other warnings).
Mounting the Drive One unit in the car
You can mount the Drive One unit in the car in multiple ways.
O1 You can mount it using the adhesive pads that Drive One comes with or
O2 You can mount it using the Drive One magnet which is sold separately.
Collapsible content
Mount using adhesive pads
If you want to mount your Drive One device in a more permanent way, you can use the adhesive pads found on the back of the device.
O1.1 Preparing to mount Drive One on a dashboard
Find the best spot for the device. It should be a place where you can see it, when looking out the front window, and where you can reach it to make a report without having to look away from the road.
Then, using a damp cloth, clean the part of the dashboard where you want the device to be placed.
Make sure the dashboard is dry where you are ready to mount it.
O1.2 Mounting Drive One using adhesive
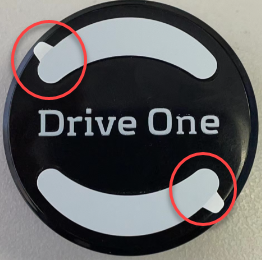
From the back of Drive One, you need to remove the covers from the pads to reveal the adhesive.
Grab the small tail to easily remove the covers.
Mount using Drive One magnets
Drive One magnets are sold seperately from the purchase of Drive One device.
This video shows how much to mount the Drive One magnet and then use magnets to mount the Drive One device to magnet.
How does Drive One work?
Drive One works by sharing data from many sources and even more users all over Europe.
A user can report an incident by using the buttons on the Drive One device (top button for speed cameras, bottom button for hazards). This will then send the coordinates of where the report was made to our servers, and this is then sent to the Drive One app on your phone.
When you then get close to this location, a warning will sound on the Drive One device.
The sound and colour of the warning lets you know what to be aware of:
- A blue light and sound indicate a warning for a possible speed camera.
- A red light and sound indicate a more general warning that something up ahead requires your attention and vigilance. This can be an accident or road works or something hazardous.
What happens when you press one of the buttons?
If you see something that you think other users should be aware of, then press the button on the device that matches the event

- Upper button for speed cameras
- Lower button for other events
Your report is then shared with all the other Drive One users so they get warned and avoid any dangerous situations.
Replacing the battery
Drive One is expected to be able to run on the included battery for about 2 years.
This may depend on how much you drive and what conditions the device is exposed to: heat, cold, humidity etc.)
If you need to replace the battery, it is very easy.
⎯⎯ Twist the device, like a screw capsule, in either direction.
⎯⎯ Then, remove the bottom of the device.
⎯⎯ Push the battery out of the battery compartment and then add the new battery.
⎯⎯ You can then click the back on or twist it counter to the direction used when removing the lid.
This video will show you how to disassemble the device and replace the battery.
Adding an additional Drive One unit
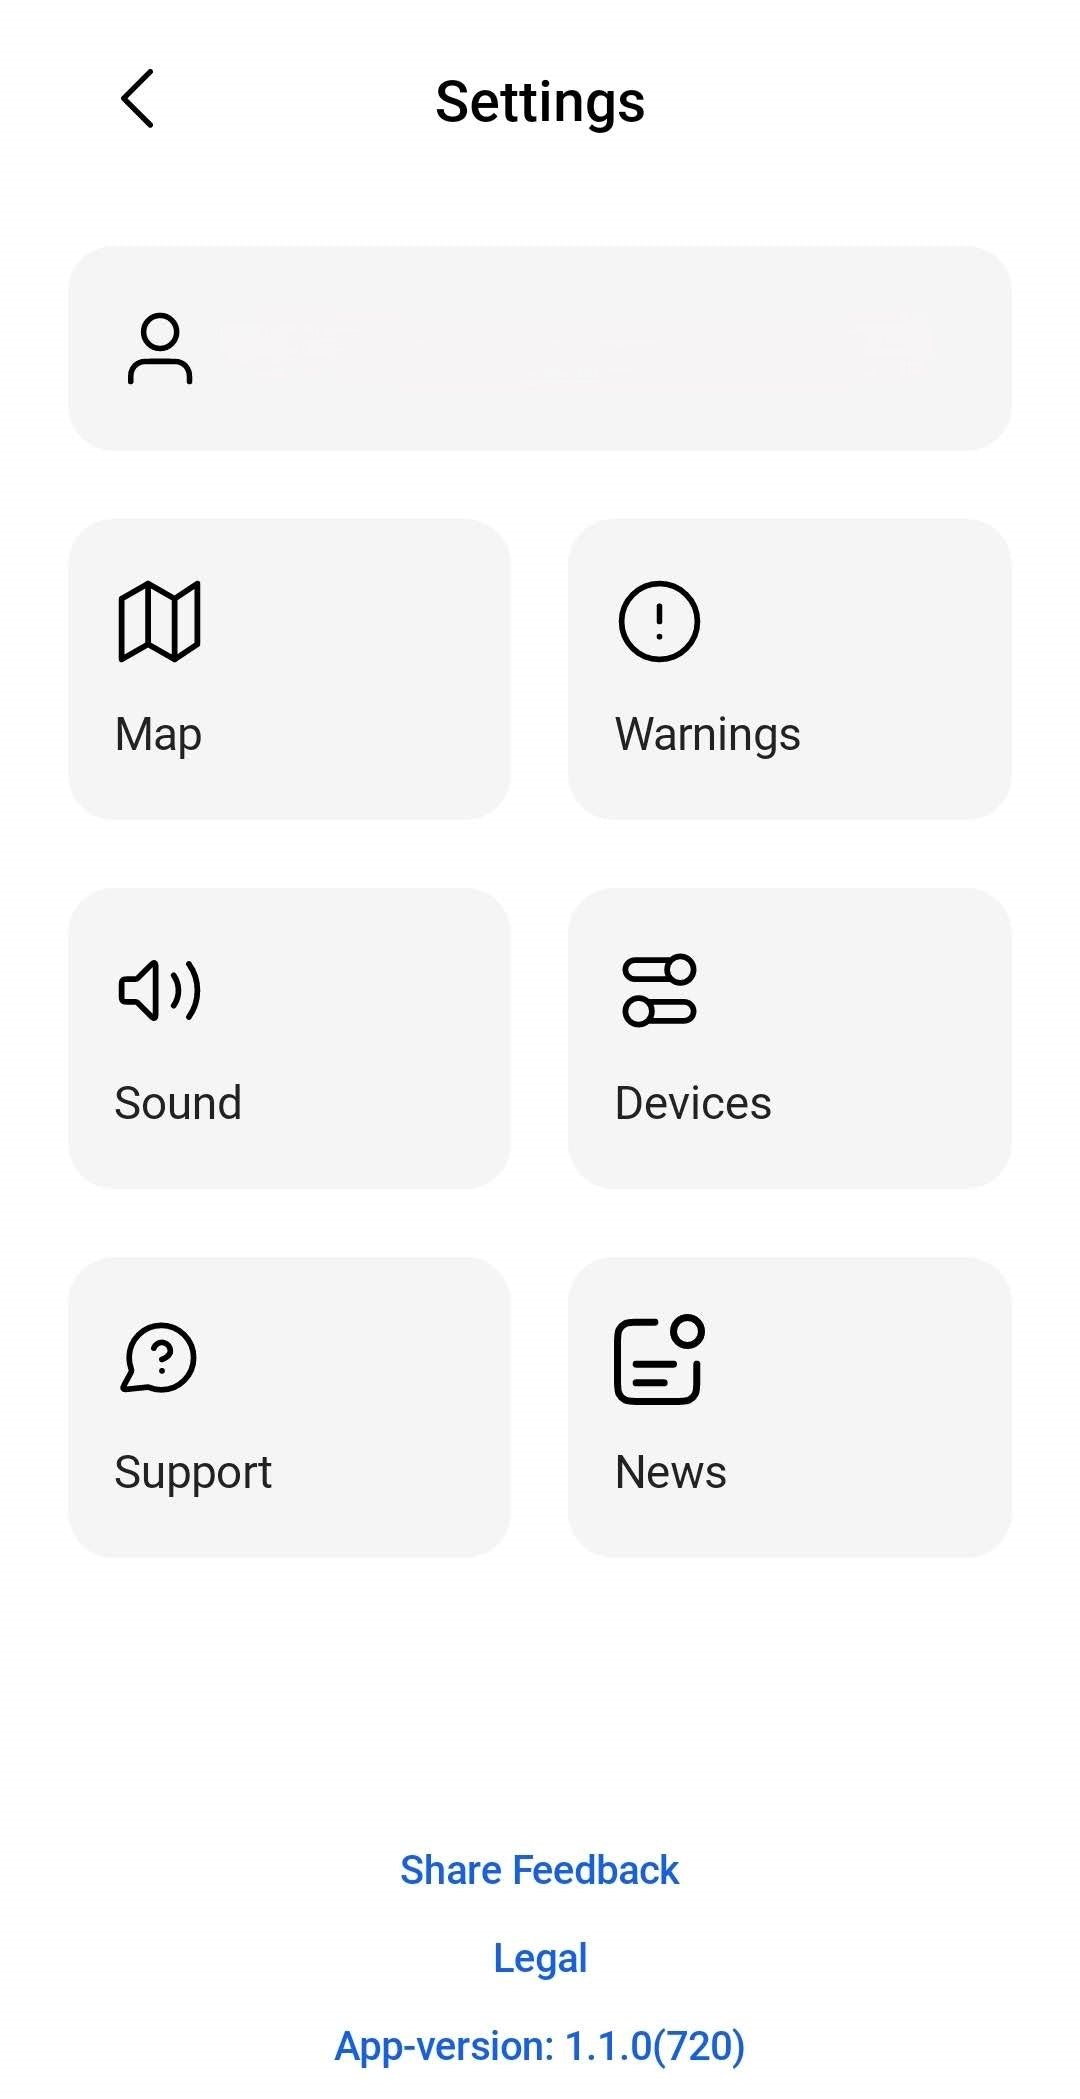
To add an additional Drive One device, open the app.
From the map view, click the cog to go to the menu. From the map click Devices.
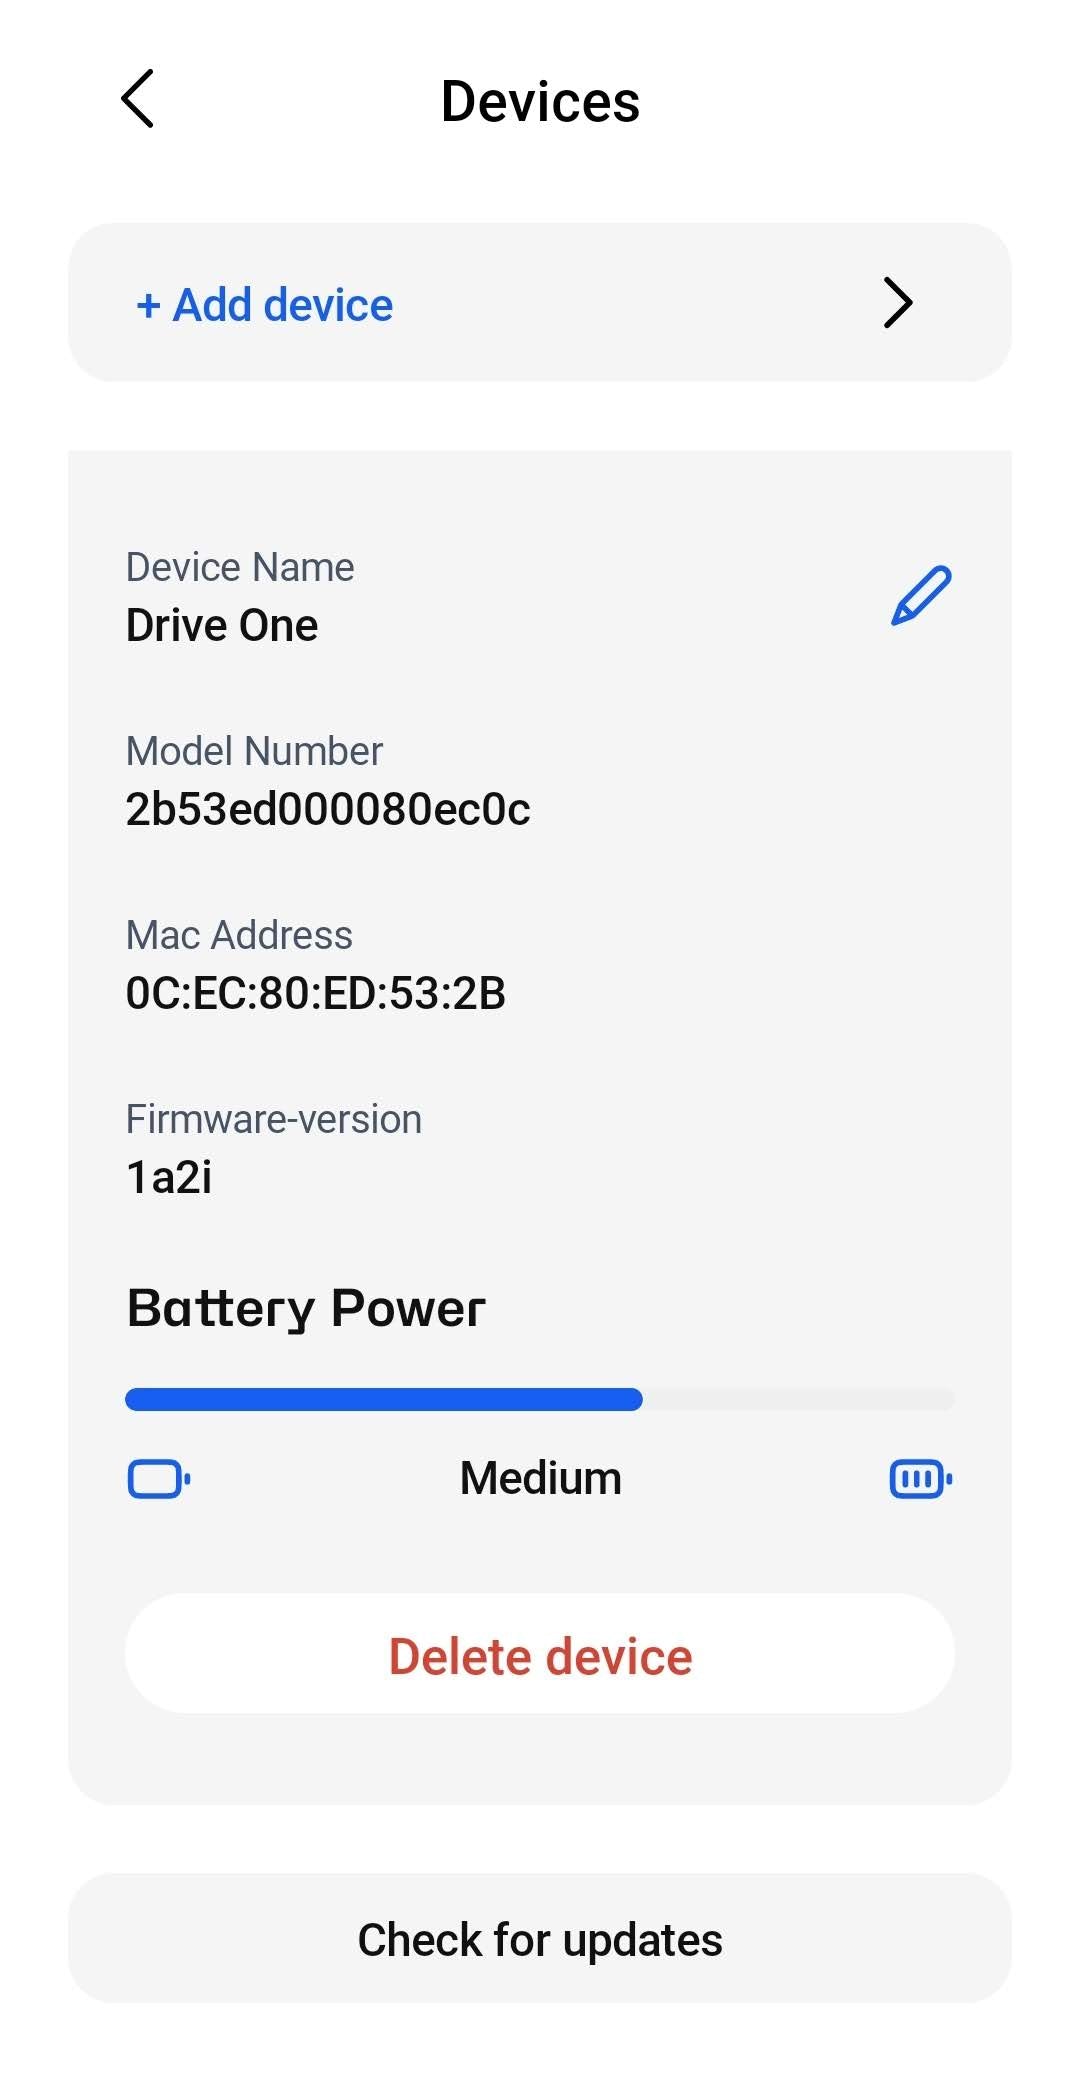
From the bottom of the Drive One devices list, click "Add device" to add a new device.
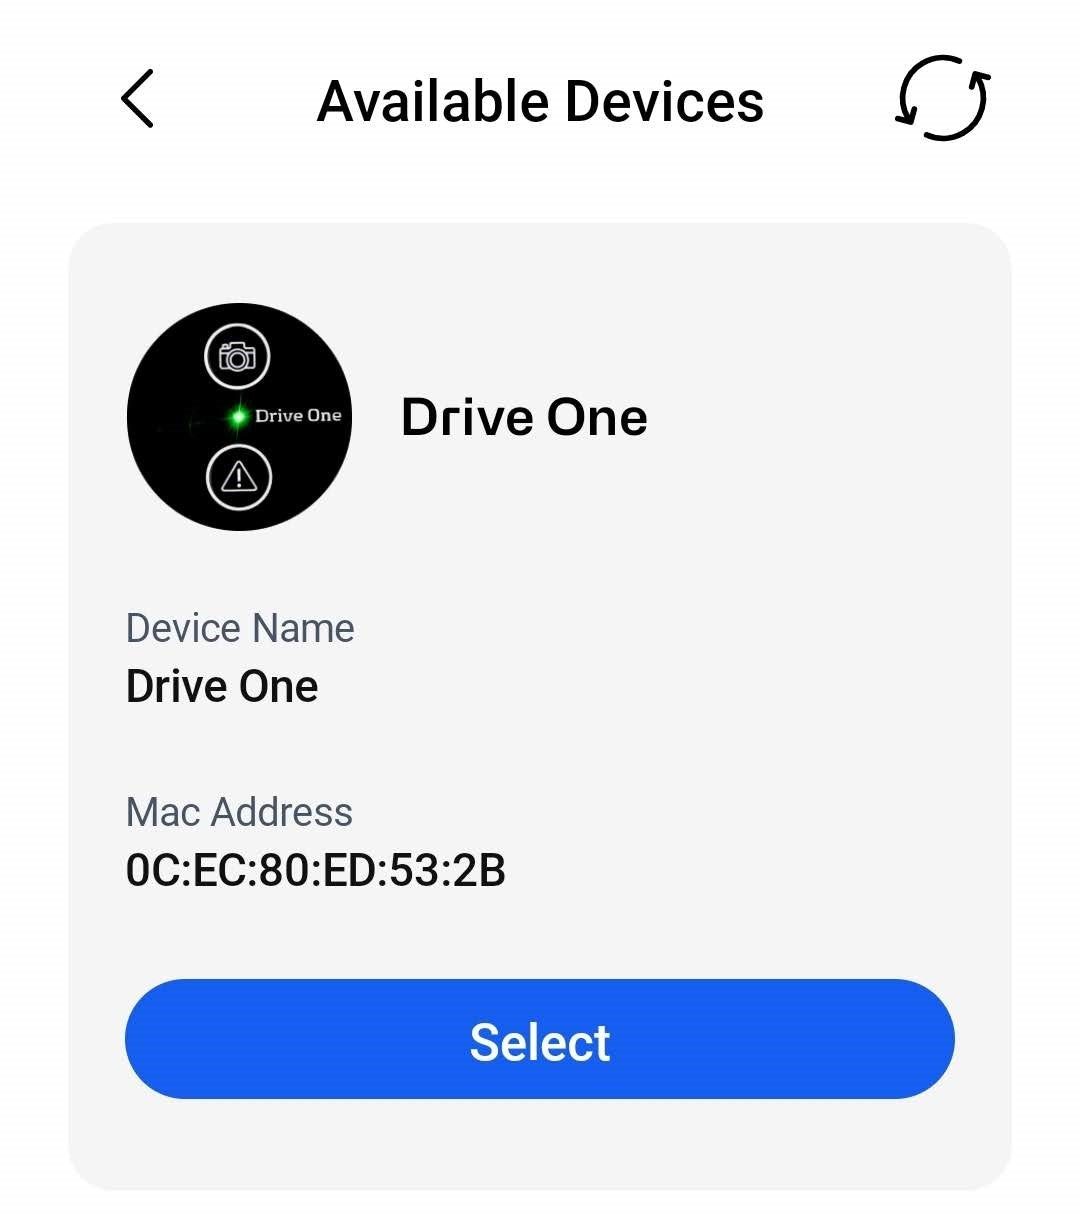
Drive One app will now search for the new device.
Make sure the new device has had the plastic removed from the battery, and that the device is awake. Try to move the new device around to make sure it is awake ready to be found.
When Drive One finds the new device, it will appear in the list.
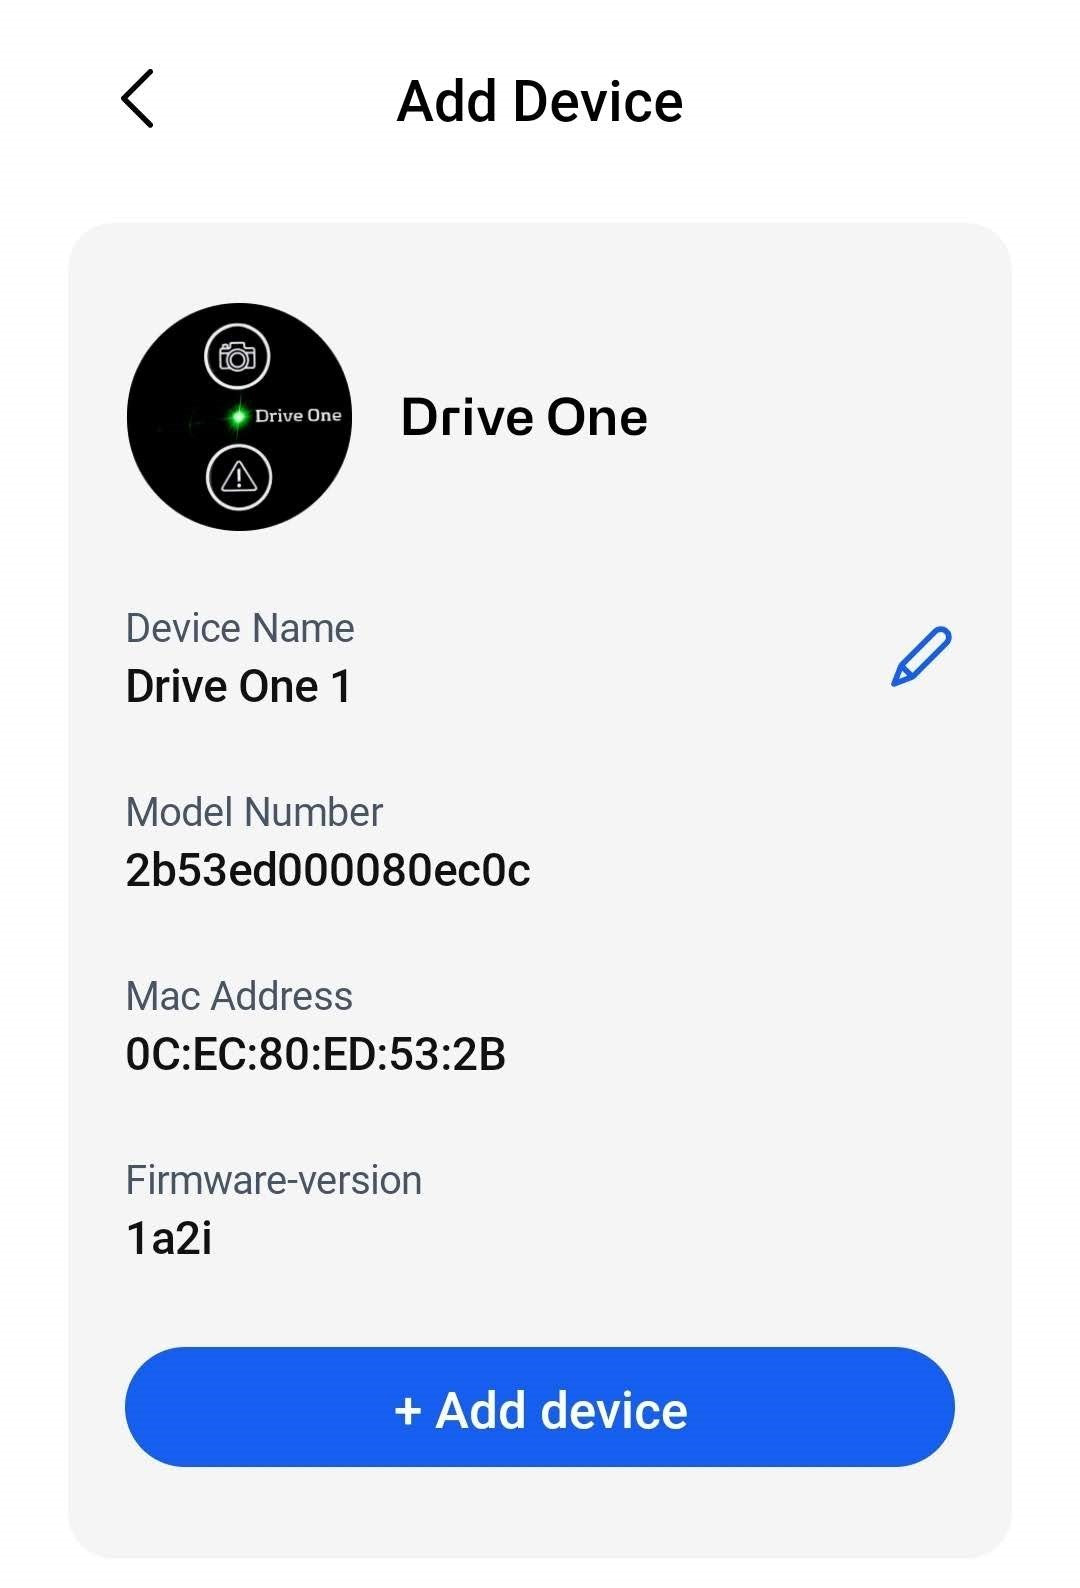
Click on "Select", then click "Add device".

Your new Drive One device is now added to your Drive One app, and the next time any of the devices on your list are nearby and awake, they will connect to your app.

